How To Charge Nest Thermostat
/Learn How To Charge Your nest THermostat
Learn how to charge Nest Thermostat and fix Nest low battery problems. I have a Nest Thermostat in my home and have installed hundreds of them over the years. For the most people they work great without any issues.
However, there a few common issues that can cause the battery to get low and then it requires you to charge the Nest Thermostat.
Related Post: Nest Room Sensor Review
We will teach you how to charge the Nest Thermostat but you should also keep reading below where we provide additional troubleshooting links and resources because it's possible that you might need to add a common wire transformer to your Nest to provide enough power. We teach you how to determine that below.
How To Charge Nest Thermostat
There are a few ways to charge the Nest Thermostat but it's important to check a few things before charging your Nest because durring normal use the Nest Thermostat does not need to be charged. The Nest Thermostat when working properly should automatically charge from the power provided by your HVAC equipment.
#1 Check The Power Switch
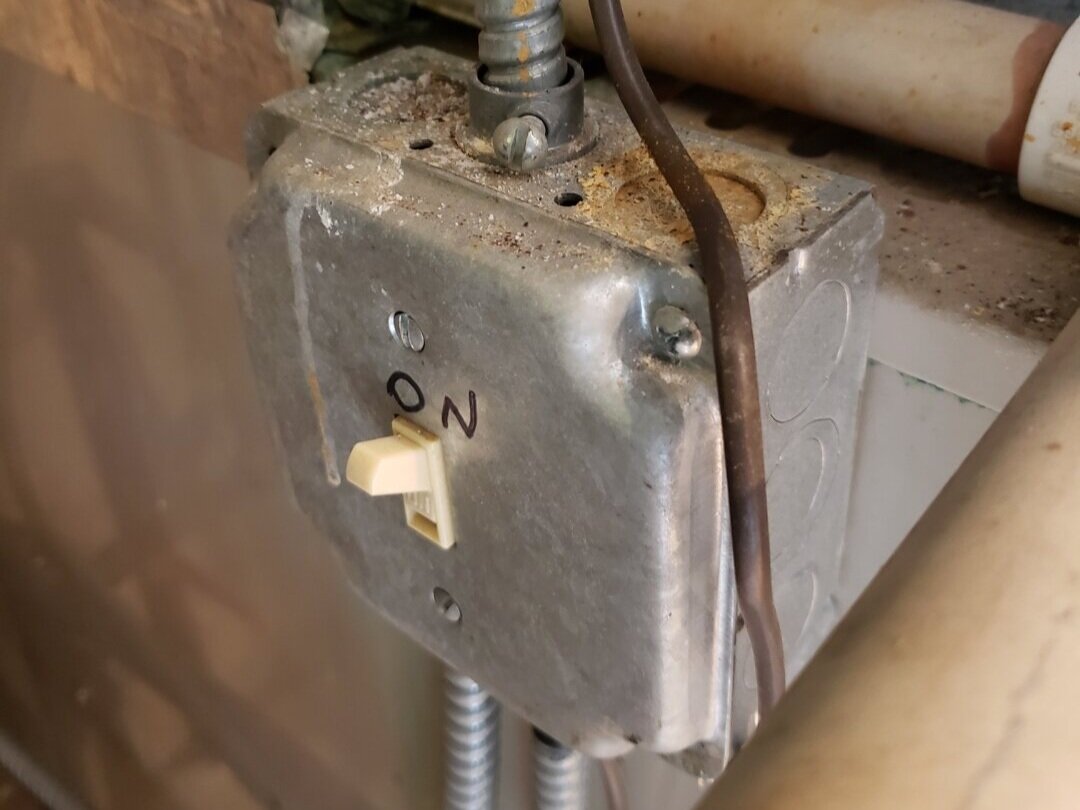
Make sure THE Power Is On TO Charge Your Nest Thermostat
Yes, this sounds obvious and simple but I've known more than a few people who thought their nest was broken because their HVAC system was inadvertently turned off while cleaning, remodeling or by a child.
Next to your HVAC system there is typically a light switch which controls the power to your HVAC system. Confirm that it is on.
With the power on the Nest will typically charge itself. If the power has been off for a day or two it may take several hours for the Nest to recharge. This is a common problem and has happened to thousands of people. You should also check at your circuit breaker to make sure the power is on. If your uncertain if the power is on to your HVAC system you can always take off the front cover, and confirm that the LED circuit board lights are on. You need to hold down the "cover kill switch" with your free hand, otherwise the furnace won't have power.
If you have power give the nest a few hours to charge, if the power has been off or the Nest has been a box for a long time.
Check the Circuit Breaker To charge Nest Thermostat
#2 Remove Nest From Wall & Charge
If the Nest hasn't been charging or you can't diagnose what is going on with your Nest Thermostat a great way to jumpstart it is to take it off the wall and charge it. This serves two purposes, you can charge the Nest battery and with the battery charged it will help you diagnose any issues you might have with your Nest, HVAC or Nest Wiring.
You Can Remove The Nest From The Wall TO Charge
To charge the nest you remove it from the wall and you can charge it with a standard phone charger, you just need to have a micro USB cable like this one or you can get a cable and charger for your nest.
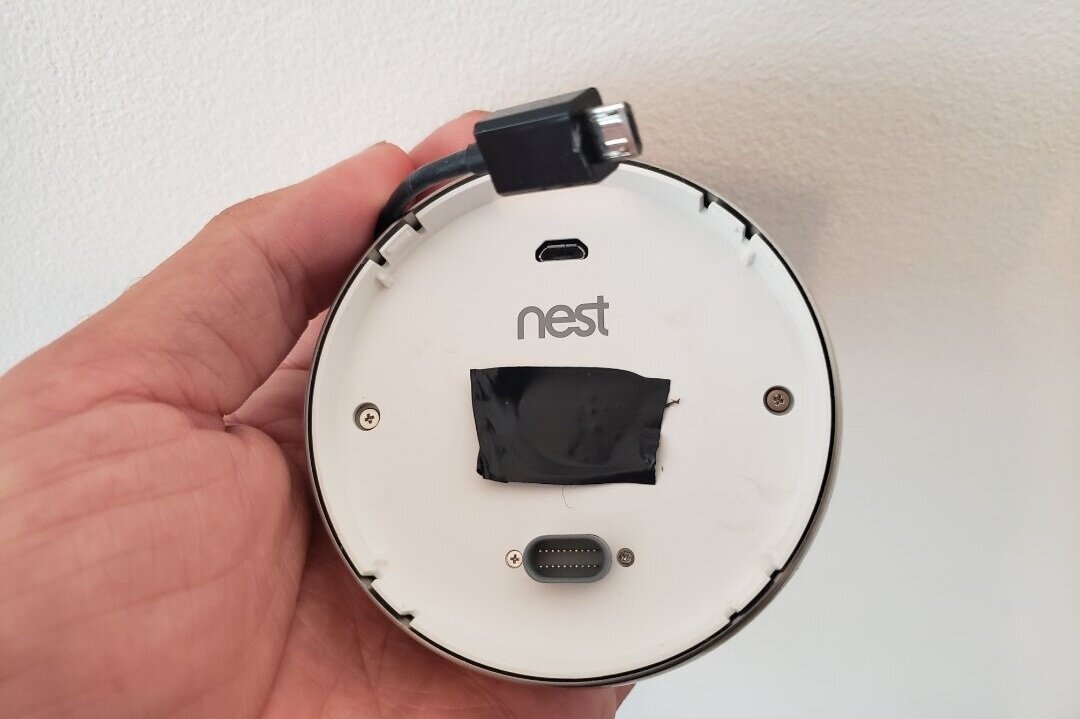
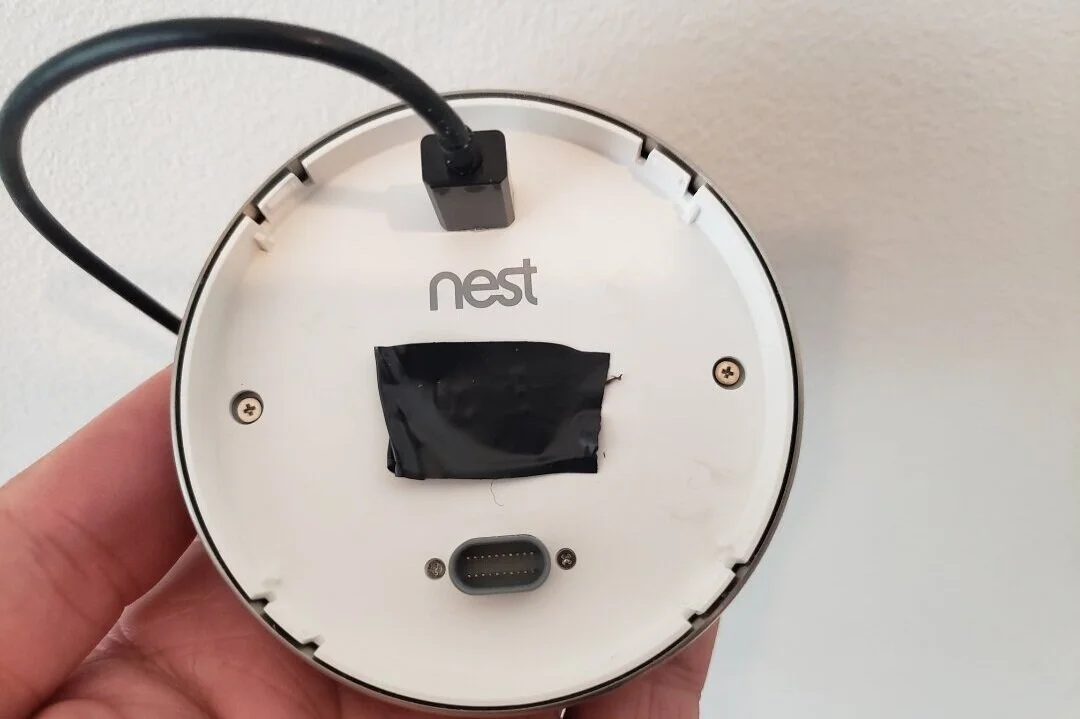
Once you remove the Nest from the wall you can charge the Nest Thermostat by inserting the a micro USB cable into the charging port on the back of the Nest Thermostat.
Charge Nest Thermostat With the Charging Port Located On The Back
#3 Use A Common Wire For Nest
If you have checked to make sure your power is on at your HVAC system and you've charged the thermostat manually by taking it off the wall and plugging it in you can now test your HVAC System.
Put The Nest Thermostat back on the wall mounted plate and see what happens. If your Nest is reading low power or won't charge it may mean that you need to add a common wire transformer.
A common wire transformer is used to provide power to the Nest if your HVAC system doesn't put out enough power and will charge the Nest Thermostat.
The video below shows you how to add a common wire. We've also included the other common wire installation resources below. We have tested and recommend the following Common Wire Transformer.
Related Post: How To Add A Common Wire
#4 Replace The Nest Battery
Now, I don't recommend replacing the Nest Battery until you have gone through all of the troubleshooting with Nest and confirmed that this is the issue. It is an extreme rarity that the Nest Battery would Need to be replaced but it can happen. We have an entire guide on replacing the Nest Battery and troubleshooting in this post about the Nest Thermostat Battery.
You can get a replacement battery for your Nest from Amazon. Also shown below.
Nest Thermostat Wont Charge Troubleshooting: Additional Info
We've taught you how to charge a Nest Thermostat but it's important to understand the causes behind why you your Nest Thermostat wont charge.
There are a few common causes that will prevent your Nest Thermostat from charging:
1 . Power Is Off - As we mentioned before the most common issue is that your HVAC power is turned off either at the switch on the HVAC unit or at the circuit breaker.
2. Your HVAC Fuse Is Blown - There is a small 3AMP fuse inside your HVAC unit, these can sometimes blow. You can get replacements on Amazon.
3. Your HVAC Unit does not provide enough Power for the Nest Thermostat. - If this is the case you will need to add a common wire or common wire transformer.
4. Your HVAC Unit Is Broken - When many HVAC units fail they automatically turn the power off to the system which cuts the power to the Nest Thermostat. If this is this is the case you should troubleshoot your HVAC system. There are a few common issues that are easily serviceable like changing your furnace filter or cleaning your flame sensors. I recommend using these furnace filters as they have high levels of filtration for airborne particles.
5. Your Nest Thermostat Battery Is Dead - This is very rare but can happen. We've included a guide on how to troubleshoot your Nest battery and replace it in this post about the Nest Battery:
